Overview
Custom redirection rules can be used to set up HTTP 301 or HTTP 302 redirects in your Jive community. These rules will be useful when you move content or Place within or outside your community and would want to ensure that users are automatically redirected to the new URL.
Note: Since Jive Cloud AWS version 2017.1, Custom Redirection Rules no longer allow redirects to external sites. This ability was removed to prevent potential security issues.
Prerequisites
Administrative access to your Jive instance.
Solution
The screenshot in these instructions is from a Jive Cloud instance. Jive Hosted and On-premise instances have an additional option of adding an input URL using regular expressions.
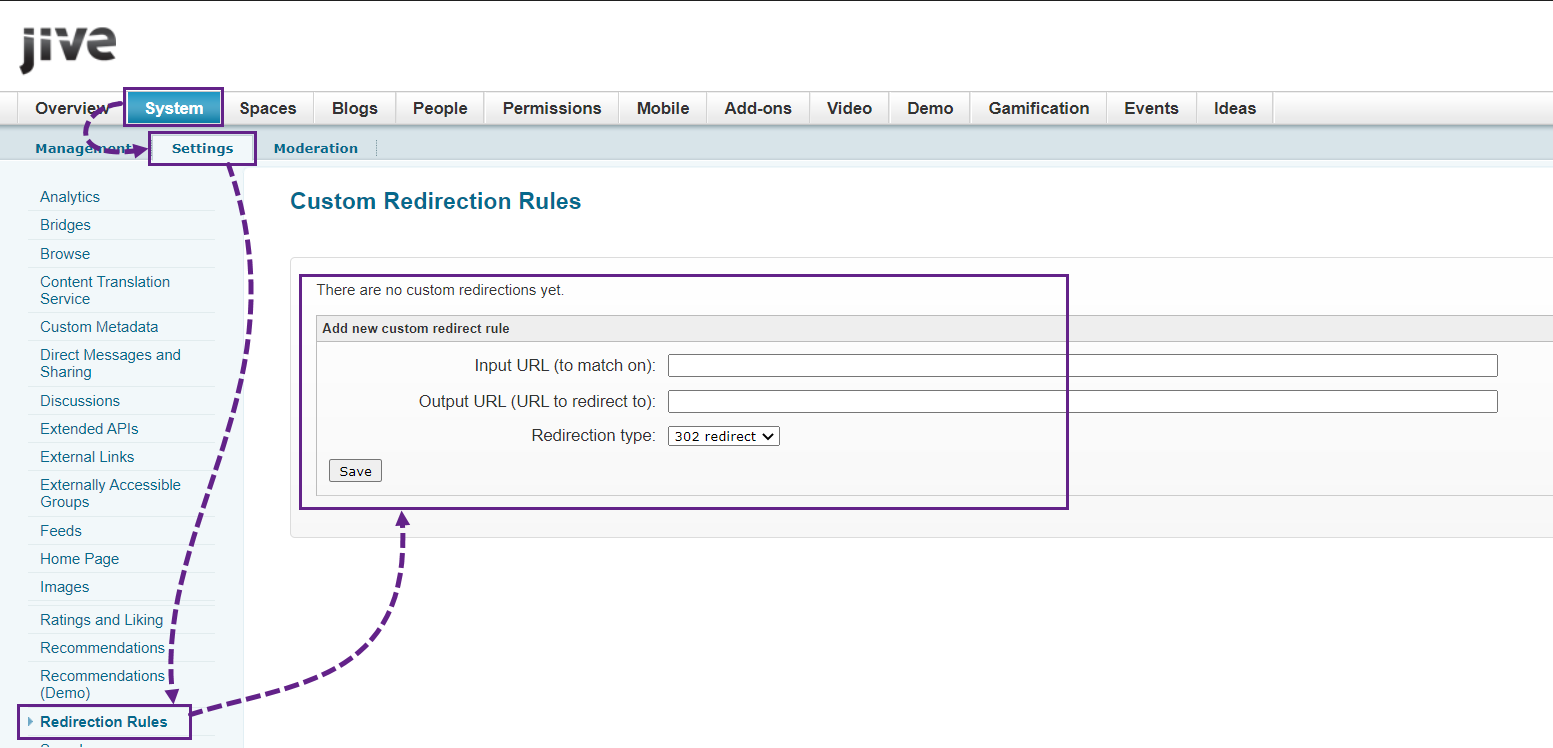
- Navigate to Admin Console > System > Settings > Redirection Rules.
- Under the Custom Redirection Rules section, enter,
- Input URL: the original URL that the user visits.
- Output URL: the URL that the user should be redirected to.
- Redirection type: Either 301 (permanent) or 302 (temporary) redirect.
- Click on the Save button.
You can use the above settings as a workaround for redirecting to external URLs as well. For example, use settings like:
| Input URL | Output URL | Redirection Type |
|---|---|---|
| /testexternalurlredirect | /external-link.jspa?url=https%3A%2F%2Fwww.google.ca | 302 |
When users visit the above input URL (e.g. https://yourcompany.jiveon.com/testexternalurlredirect), they will see a warning message by default:
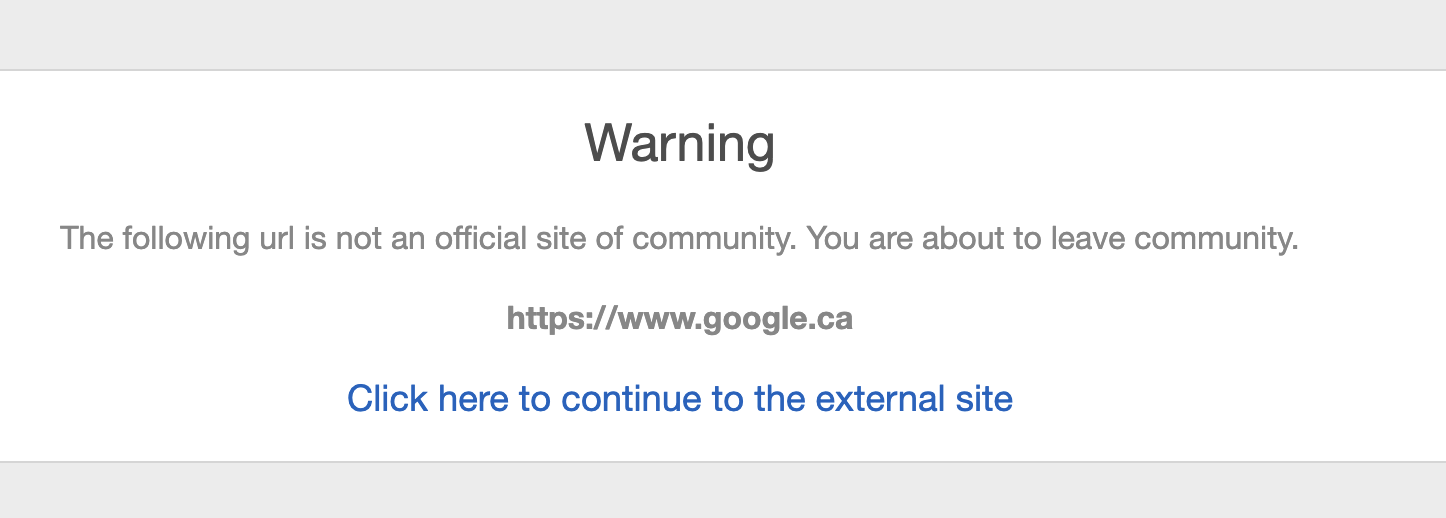
Clicking 'Click here to continue to the external site' will take them to the configured external website.
Priyanka Bhotika
Comments